Below are 8 easy ways to perfect your aerial drone photography skills, and to get the very best and most our of your aerial photography drone. As with everything else in life, always keep in mind that practice makes perfect.
1. Before Heading Up High in the Sky
A few precautions should be taken before sending you aerial photography drone high up in the sky. (1) Get well accustomed with local laws and regulations regarding hobby drones. Only fly your drone in an area if you’ve become well acquainted with applicable drone laws and regulations, and are sure that its safe to fly. (2) Make sure to always calibrate your drone whenever you change locations. (3) check your drone’s compass sensor index after calibrating, and make sure that the sensor index is between 1400 and 1600. If the number is higher, this may indicate signal disturbances that can cause in-flight connection problems. (4) Always test your drone at ground level before flying it higher in the sky. Watch our for any abnormalities in flight and control before sending it any higher. (5) Watch out for wild life.
2. Use Longer Shutter Speeds Over ISO Setting
The higher your ISO, the more grain and noise will appear in your aerial drone captures. In broad day light, there is sufficient light available to leave the ISO setting at a minimum. In low-light environments, using a longer shutter speed should be preferred over increasing the ISO. With this in mind, you’ll want to find the perfect, balanced setting for each environment.

3. Shoot in RAW format
As with normal photography, capturing aerial drone images in RAW format allows you to later bring appropriate corrections to things such as colors and exposure. If you end up capturing that one stunning photograph with your drone, you’ll certainly be glad to be able to have access to post-processing options made available through apps like Adobe Lightroom or Adobe Photoshop.
4. Make Good use of Bracketing
For anyone unaccustomed with the term, ‘bracketing’ refers to the ability to simultaneously shoot to or more photos using different camera settings. Bracketing will ensure you always have that one photo with the best camera settings relative to your subject and its environment. If you’ve also been shooting in RAW format, you’ll be able to apply post-processing options to the best image.
5. Start from Auto Mode then Switch and Adjust from Manual Mode
The granular control offered through manual mode (M), as opposed to automatic (P) mode, is just another way for you to express you artistic creativity in aerial drone photography. However, doing so can be tricky, especially if you’re a beginner. A good way to learn is to first start in auto mode, to see what settings are suggested relative to a specific subject and its environment. With those settings in mind, you can then switch to manual mode, and making any adjustments according to your own artistic viewpoint.

6. Low-light Conditions and In-Flight Vibrations
Unique to the art of aerial drone photography is the fact that the device used to take the photos is often high up in the sky, where it becomes vulnerable to vibration and shaking caused by higher altitude winds. This is particularly problematic when shooting in low-light environments, such as night time. To reduce vibrations and shaking in your aerial drone photos, a shutter speed that does not exceed 3 seconds is recommended.
7. Neutral Density and Polarizing Filters
In well-lit environments, such as in broad daylight, use neutral density filters (‘ND’) as a creative, artistic tool for your aerial drone photography. Using a ND filters the light coming to the drone’s camera, and achieves a result that is similar to shooting with a slow shutter speed of say, 1/50 of a second. The result is a darker image in broad day light settings, which can lead to overall better looking images.
8. Use Adobe Photoshop or Adobe Lightroom
Adobe Photoshop and Lightroom are excellent tools to help you achieve you creative and artistic vision. Use them to your advantage.
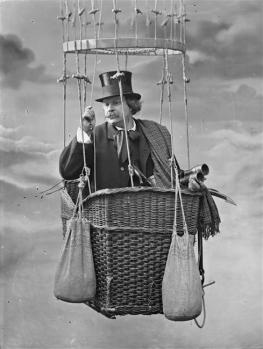
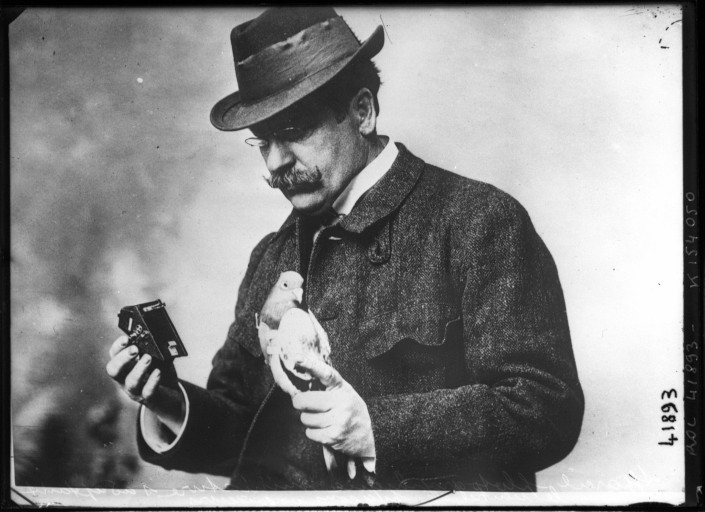
 Looking back at the origins of aerial photography, and comparing the means that were used back then with today’s modern consumer hobby drones, it’s apparent that the full creative potential of consumer hobby drones as it relates to aerial photography depends on the photographer’s ability to exploit the unique and inherent characteristics and features of a drone. This includes the ability to capture subjects and sceneries that test a drones maneuverability, agility, precision, and responsiveness, from angles that aren’t available from the ground or high-up in the sky, and under circumstances that would otherwise pose a risk, danger, or hazard. Worded differently, aerial drone photography, properly said, is at its best when it can’t be replicated through any other means, such as airplane, satellite, helicopter, kite, hot-air balloons, etc.